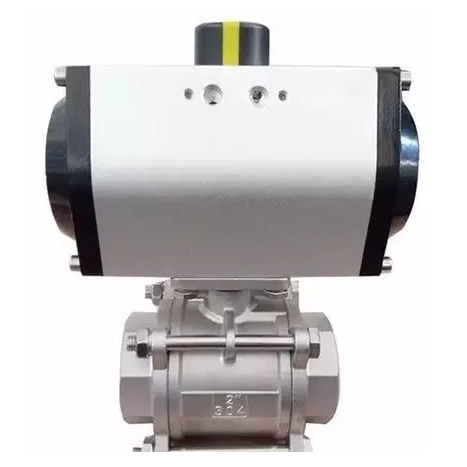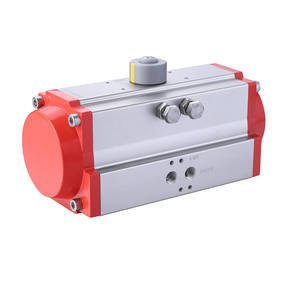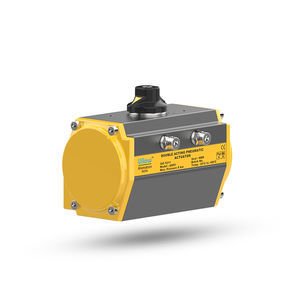
Installing a rotary pneumatic actuator
correctly is crucial for its proper functioning. Begin by thoroughly inspecting
the actuator for any damage or missing parts. Ensure that the installation
surface is clean, flat, and sturdy enough to support the actuator's weight and
operational forces.
Mount the actuator using appropriate
hardware, such as bolts or flanges, making sure it is firmly secured in the
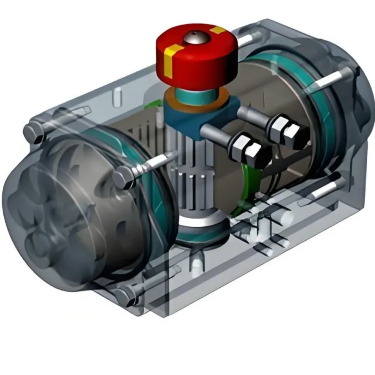
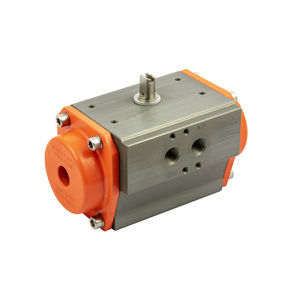
correct orientation as per the design requirements. Connect the pneumatic
tubing to the actuator's ports, using suitable fittings and ensuring tight
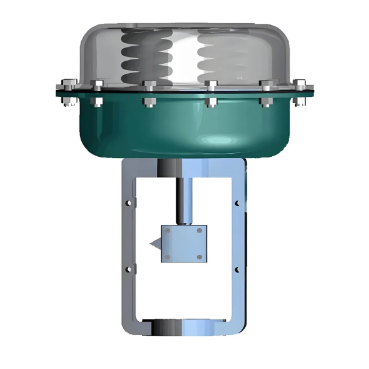
connections to prevent air leakage. A filter - regulator - lubricator (FRL)
unit should be installed in the air supply line to provide clean, regulated
air.
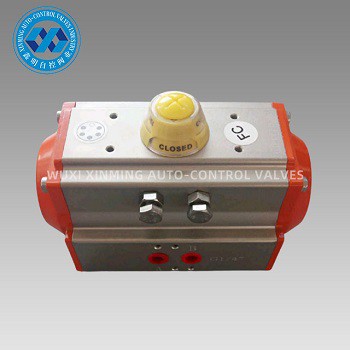
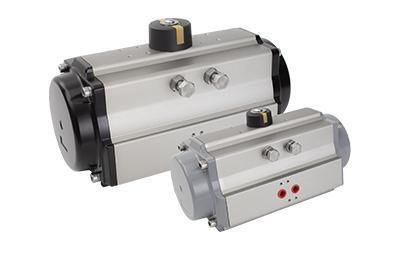
If there are electrical connections for
position sensing or control, carefully wire them according to the
manufacturer’s instructions. Before operation, perform a test run with low -
pressure air to check for smooth rotation, proper positioning, and any abnormal
noises. Adjust the actuator’s settings, such as stroke limits and pressure, as
needed. This systematic approach ensures a successful installation and reliable
performance of the rotary pneumatic actuator.
If you want to learn more about low-priced products, please visit the following website: www.xm-valveactuator.com