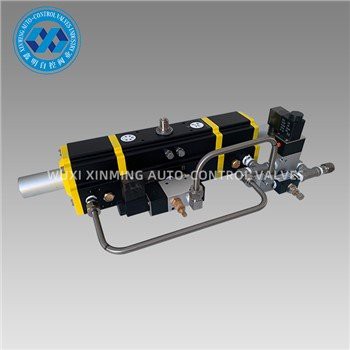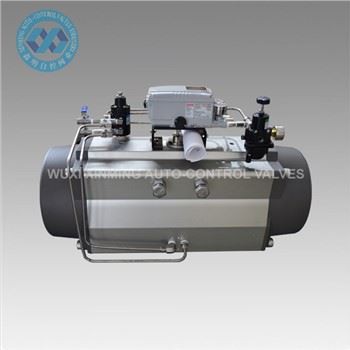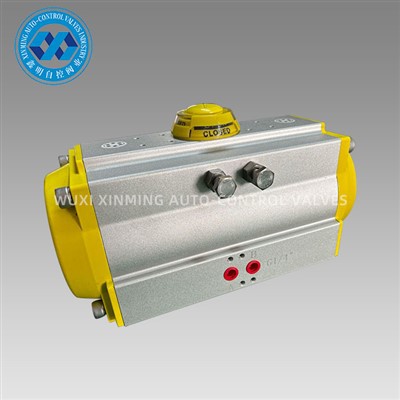
When a double acting pneumatic actuator encounters a malfunction or requires maintenance, it needs to be disassembled and assembled to ensure its normal operation. During the disassembly process, the following points should be noted:
1. Before disassembly, turn off the air source and release the internal pressure to atmospheric pressure to avoid injury caused by residual pressure.
2. Use appropriate tools to disconnect the actuator from other air circuits, remove the inlet and outlet ports, and be careful not to damage the ports and pipelines.
3. Carefully remove the end cap while retaining the O-ring. Pull out the locating pin or bolt that fixes the end cap. Regularly replace aging O-rings to ensure the sealing between the end cap and the barrel.
4. Remove the guide rod assembly and check for abnormal wear on the guide rod, thrust ring, bushing, and spring. The guide rod components should be regularly lubricated and maintained.
5. Remove the piston from the chamber and check if the piston, piston ring, and guide plate are damaged. The dynamics between the piston and the chamber should be maintained well.
6. Clean the inner wall of the chamber with cleaning tools to ensure that it is clean and free of dirt and carbon deposits. There is no severe wear on the inner wall.
7. Pay attention to the position and orientation requirements of the components during assembly, ensure the correct installation of each component, tighten the end caps, and adjust the spring preload force.
8. After assembly, exhaust and check for leaks at the pneumatic connection points.
9. Restore the gas source, check if the actuator's motion characteristics are normal and operate flexibly.
Be careful when disassembling and assembling double acting pneumatic actuators to ensure that they can continue to operate normally.
If you want to learn more about low-priced products, please visit the following website: www.xm-valveactuator.com